Search
Search
Enter part no, manufacturer part no, machine model or description
Browse by Application
Find parts to fit your specific Tractor Make/Model or Engine
Browse by Category
Select Engine Make
Select Vehicle Make
Preparing for the haymaking season

Preparing for the haymaking season involves several steps, including equipment maintenance, field preparation, and timing of the harvest. Here are some tips to help you get ready:
- Check and maintain your equipment: Before the haymaking season, inspect your mowers, rakes, balers, and other equipment to ensure they are in good working condition. Replace any worn or damaged parts, change the oil and filters, and lubricate moving parts. This will help prevent breakdowns during the busy haymaking season.
- Prepare the fields: Before cutting the hay, make sure the fields are free of rocks, debris, and any other obstacles that could damage your equipment. Also, consider fertilizing the fields to improve the quality and quantity of the hay.
- Monitor weather conditions: Keep an eye on the weather forecast, as weather conditions can greatly impact the quality of the hay. Ideally, you want to cut the hay when the weather is dry and sunny, as wet or damp hay can mould and spoil.
- Timing of the harvest: The timing of the harvest depends on the type of hay you are growing and the stage of growth. Generally, grass hay is harvested when it is in the early bloom stage, while legume hay is harvested when the plants are in full bloom. Timing is crucial to get the best quality and quantity of hay.
- Have a plan for baling and storage: Once the hay is cut, you'll need to bale it and store it properly to prevent spoilage. Make sure you have enough storage space and consider using tarps to cover the hay to protect it from rain and moisture.
By following these steps, you can prepare for a successful haymaking season and produce high-quality hay for your livestock or for sale.
Shop for parts by category

Step 1 - Mowing for haymaking
Mowing is an essential step in haymaking and can greatly impact the quality of the hay. Here are some tips for mowing for haymaking:
- Timing: Timing is critical when it comes to mowing for haymaking. You want to mow when the grass or legumes are in the optimal stage of growth. For grass hay, this is typically when the plants are in the early bloom stage. For legume hay, this is when the plants are in full bloom. Mowing at the right time will help ensure the hay is high in nutrition and palatable for livestock.
- Mower selection: The type of mower you use will depend on the size of your operation and the type of hay you are cutting. Common types of mowers include disc mowers, sickle mowers. Choose a mower that is appropriate for your operation and the type of hay you are growing.
- Mowing height: The height at which you mow can impact the quality of the hay. For grass hay, it's generally recommended to mow between 2-4 inches above the ground. For legume hay, mowing a bit higher, around 3-6 inches, can help preserve the leaves, which are high in nutrition.
- Swath width: The width of your swath can impact the drying time of the hay. A wider swath will allow for faster drying, but it may also make the hay more difficult to handle during baling. Choose a swath width that works well for your operation and conditions.
- Watch the weather: Keep an eye on the weather forecast and avoid mowing when it's likely to rain or when the humidity is high. Wet or damp hay can lead to spoilage and mold, so it's important to mow when the weather is dry and sunny.
Mowing equipment checks:
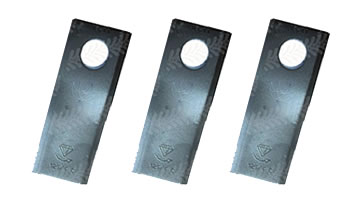
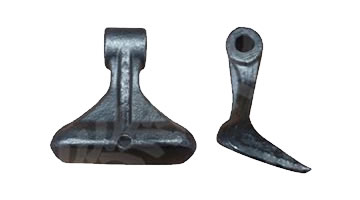
Blades
Are the blades and blade holder still in good condition or do they need to be replaced?
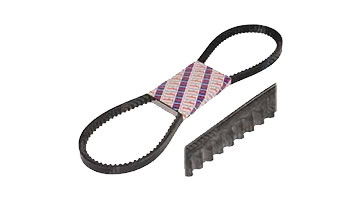
Belt
Is the belt tension tpp loose/tight/worn, if so tension or replace as required
Oil Levels
Is the oil level of the cutter bar sufficient, if not then top up using appropriate oil?
General
Check for possible leakages that could cause you problems in the field.
Step 2 - Tedding
Tedding is the process of spreading and fluffing the mown hay to promote faster and more even drying. Here are some tips for tedding for haymaking:
- Timing: Tedding should be done as soon as possible after mowing while the hay is still moist, but not too wet. Waiting too long can make it harder to fluff the hay and can lead to over-drying or mould.
- Equipment: Choose a tedder that is appropriate for the size of your operation and the type of hay you are tedding. A tedder with flexible tines will be able to better handle uneven terrain and reduce leaf loss.
- Fluffing: The goal of tedding is to fluff the hay and spread it out to expose more surface area to air and sunlight. Fluffing the hay can also help prevent it from matting down, which can impede drying.
- Frequency: Depending on weather conditions, you may need to ted the hay multiple times to ensure even drying. As a general rule, it's recommended to ted once after the first day of mowing, and then again every 12-24 hours until the hay is dry.
- Watch the weather: Keep an eye on the weather forecast and avoid tedding when it's likely to rain or when the humidity is high. Wet or damp hay can lead to spoilage and mould, so it's important to ted when the weather is dry and sunny.
By tedding your hay, you can promote faster and more even drying, which is essential for producing high-quality hay.
Step 3 - Raking
Raking is an important step in haymaking that comes after tedding. Before collecting the hay, it needs to be pulled into windrows. Different types of rakes exist, wheel rakes and rotary are the most common ones.
Timing: Raking should be done after tedding and when the hay is dry enough to handle without causing damage. Waiting too long can lead to over-drying or loss of leaves, while raking too soon can lead to wet spots in the hay.
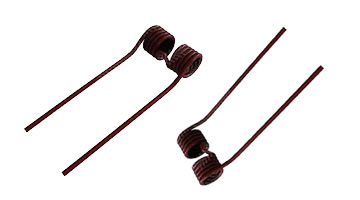
Equipment: Choose a rake that is appropriate for the size of your operation and the type of hay you are raking. Common types of rakes include wheel rakes, rotary rakes, and side-delivery rakes. Choose a rake that works well for your operation and conditions. To avoid downtime, inspect the rake wheels on a regular basis. Make sure to take a look at the tines and lubrication points as well. Inspect the levelling and check the tarp for cracks.
Adjustments: Make sure your rake is properly adjusted to avoid leaving hay on the ground or picking up too much soil or debris. Adjust the rake height to match the height of the hay and adjust the tine pressure to avoid damaging the hay.
Windrow size: The size of your windrow can impact the drying time of the hay. A wider windrow will allow for faster drying, but it may also make the hay more difficult to handle during baling. Choose a windrow size that works well for your operation and conditions.
Watch the weather: Keep an eye on the weather forecast and avoid raking when it's likely to rain or when the humidity is high. Wet or damp hay can lead to spoilage and mould, so it's important to rake when the weather is dry and sunny.
By following these tips, you can ensure that your hay is raked properly, which is essential for producing high-quality hay that is free of debris and mould.

Step 4 - Baling
Hay baling is the process of collecting and compressing hay into rectangular bales for agricultural purposes. The baling process typically involves using specialized equipment such as a baler, which picks up and compresses the hay into bales of a uniform size and shape.
There are different types of hay balers available, such as round balers and square balers, and each has its own advantages and disadvantages. Round balers create round bales that are easier to move and store, while square balers create rectangular bales that stack more efficiently. The size of the bales also varies depending on the type of baler used and the specific needs of the farmer or rancher.
Hay baling is an important process in agriculture as it allows farmers and ranchers to collect and store hay for feeding livestock during periods when fresh forage is not available. It also allows them to sell hay to other farmers and ranchers for feed or bedding. The baling process can be done manually or with the use of specialized equipment like balers, depending on the scale of the operation and the available resources.
